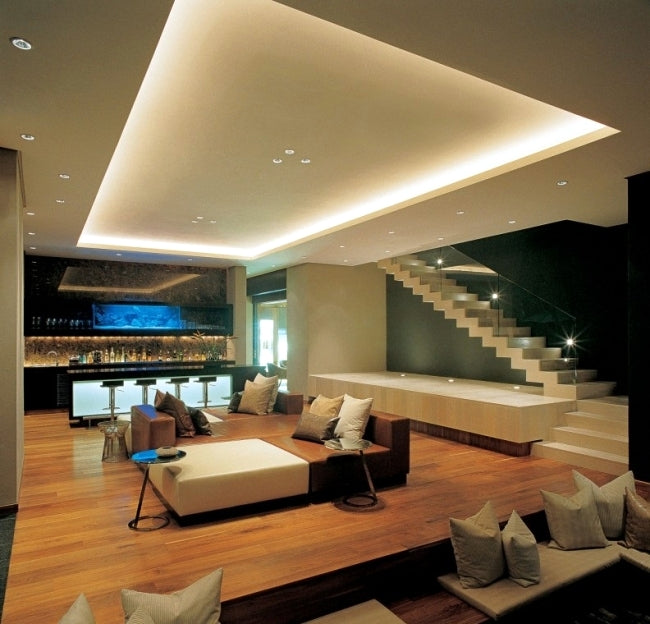
LED ceiling lighting works perfectly, brings magical effects and a touch of creativity to home design. Ceilings are a trend right now and a unique decorative element that can bring fresh energy to any living space. When you add the main strip it will beautifully enhance the space with softly glowing light. But people are curious that how to install led strip lights on the ceiling. Here’s the step-by-step guide on how to install ceiling LED strip lights. However, before you start your process, plug in the LEDs, and check that they are working, then continue the project.
Step 1: Measure your room ceiling perimeter, including all the corners and turns along the way. Ensure you measure the distance from your power outlet if the power supply has a short wire.
Since LED strip lights come in specific lengths (5m, 15m, 20m etc.), you can now decide whether you want one or more LED strip reels. Led tape lights is cuttable between every 3 leds. You can cut off the extra strips to adjust to the appropriate length.
Step 2: For optimal visual appeal and minimum wastage of extra reel or extra wiring, make sure that the power outlet is as close as possible to the source supply that comes with your LED strip lights.
Step 3: Led lights setup should be well-ventilated with airflow in the room and not stuffed behind bulky furniture or thick curtains.
Step 4: With 3M self-adhesive tape,led light can be placed on any dry and flat surface, good to solve the strip's falling problem.However, suppose your ceiling has a porous or textured design. In that case, you need to consider adding external double-tape or wall adhesive to hold it up better.
Step 5: Measurements can go wrong, but don’t worry. If you have measured the strip before you have taped it on and you find it is falling short, leave the extra gap at the end of the whole length.This way you can add more light strips when you order again, or you can join strips you already have around, but you need to purchase a 4-pin connector to reconnect.

